Thursday, February 27, 2014

Fun with watercolors

I had so much fun with my first attempt at this weeks' MIM #153 that I decided to give it another go.
Here is my other card. I will be putting this in my shop.

I had so much fun with this that I made a couple more cards. I just loved the possibilities of swirling around a bunch of colors and seeing what happens. I'm hooked! 

MIM WATERCOLOR CHALLENGE #153

I wanted to make a new card that I can send as an encouragement to a friend of mine. Her sister in law has been in and out of the hospital recently for some intestinal issues she has been having. I have met her only once and she is a young healthy looking mid-lifer. But I can see the toll this is taking on my sweet friend and how much she is concerned. So I thought that I could make this card for the Papertrey Ink challenge and then give it to my friend so she can fill it out and mail it to her sister in law. I think if she was able to put down her feelings in a card and send it out it would help her feel better... And hopefully her sister in law would feel better, too.

One thing I love about PTI is their pulse on all the trends that are currently spreading on places like Pinterest. This weeks' MAKE IT MONDAY is all about watercolor.


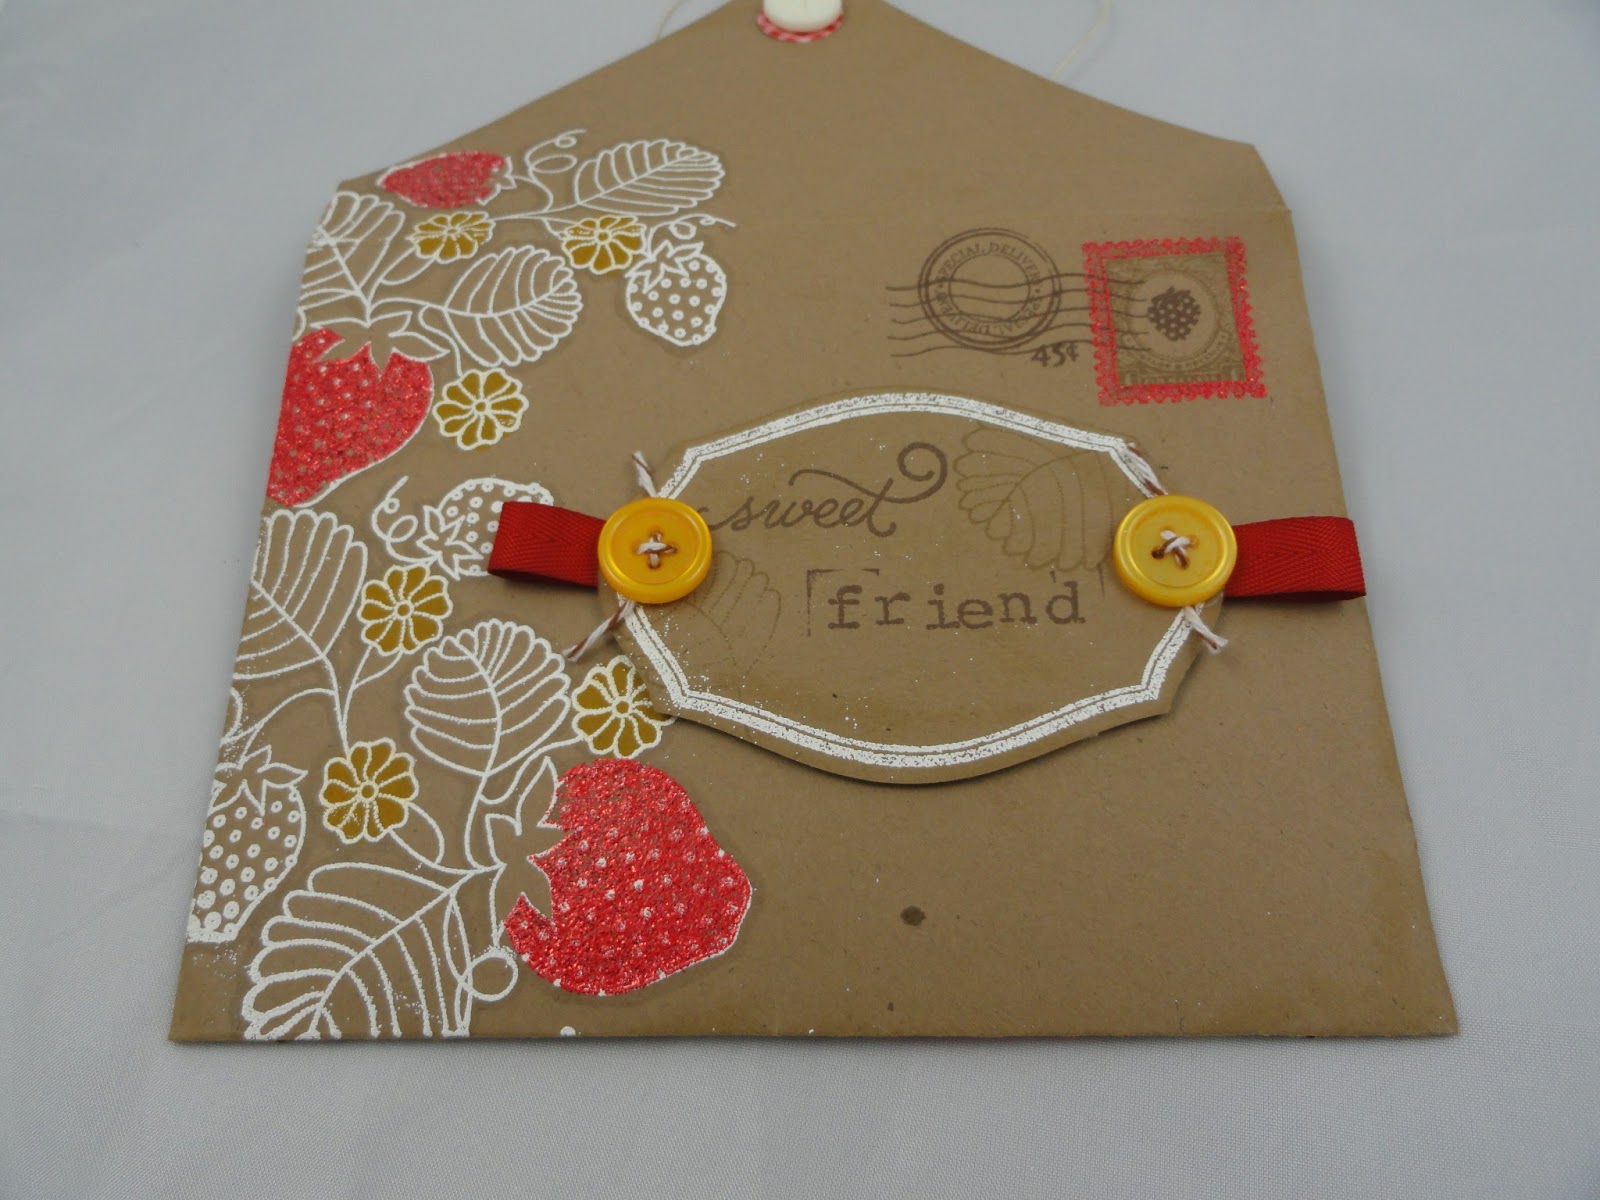
Here is my take on the challenge. I used PTI Think Big Favorites and embossed it in white powder. I also used PTI Melon Berry cardstock to coordinate with the watercolors that I blended together. The yellow polka dot paper is from Dear Lizzy (I think).
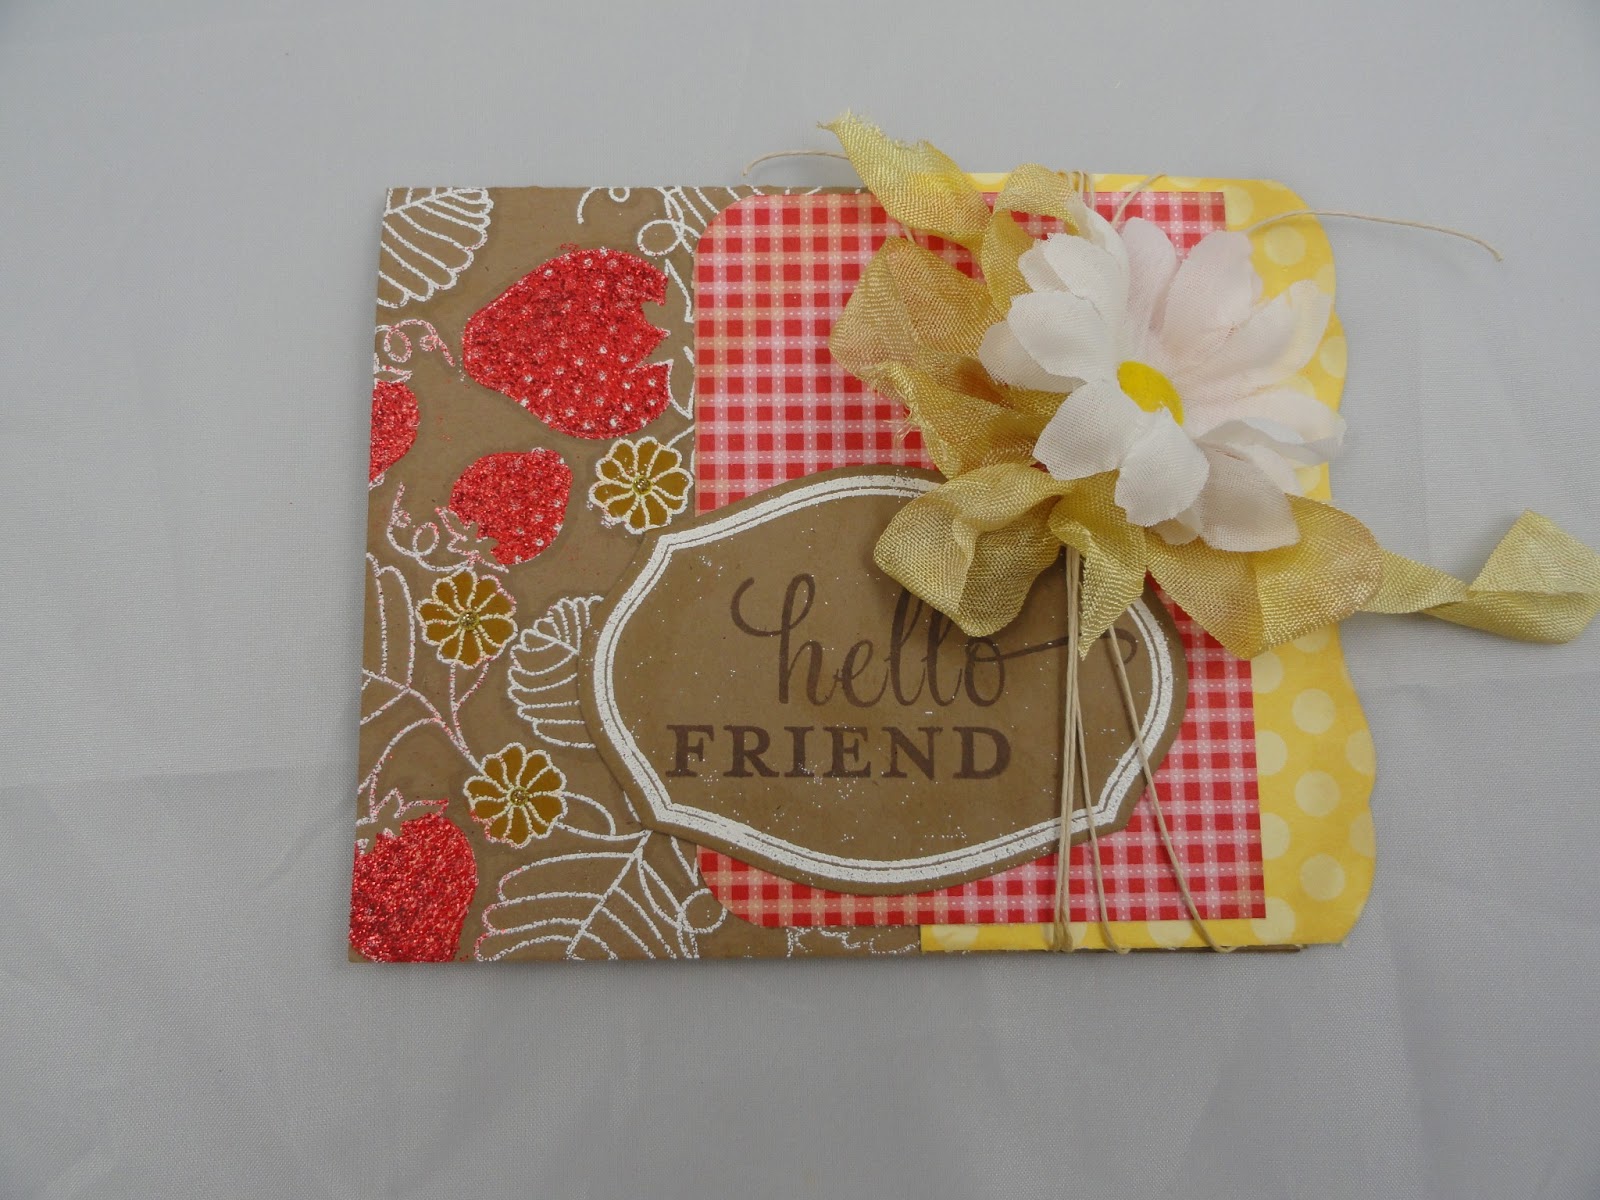
Anyway, thanks for stopping by!

Friday, February 7, 2014

Happy Anniversary PTI! Day 1 Challenge

It has been so long since I have posted on here so please forgive me! A great way to get started again, though, is with PTI's fun challenges for their 7th anniversary. I have loved PTI now for at least 6 years. They have such versatile stamps with fun and trendy styles. Lots of the newer ones come with great dies that match to make it a cinch to make pop up embellishments.

I joined their day 1 challenge. Love it! Here are the sketches and colors that I picked:


Betsy Veldman's colors:


SSketch:


I have missed playing with my Button Boutique stamps so that is what I wanted to go with and built up my card from there.


Here is my finished card. I used Button boutique stamps and BB: text style2 as well as some butterfly dies from the Love Lives Here and Pretty Peonies. The inks are PTI as well: hibiscus burst, Hawaiian shores, aqua mist, smoky shadow, and spring leaf (I think it goes well to compliment the new leaf colors in the paper). Some of my favorite things about this card include the mini wooden spool, the sequence and scrunch ribbon.

Thanks for taking a look!

Sunday, July 14, 2013

Popping in with another Make it Monday

I have such a fun time watching Papertrey Ink's Make it Mondays. And this week's teacher is one of my favorites, Melissa Phillips at Lilybean Paperie. She is so sweet and her style is a big ol' slice of homespun goodness. MIM #124 is all about embellishing your envelopes which is usually something I forget about. I spend so much time on the card that I usually don't think about dressing up the packaging that I give it in. *Gasp* I know, just keeping it real here. :)

So this was a lot of fun to make. Here is my take on the challenge:


I made my own envelope out of kraft cardstock. I loved the way Melissa used kraft and how the white popped off of it! So I got out my Martha Stewart scorer and made an envelope with it. Easy Peasy.

I stamped the back like I did the front. I made my own envelope tie closure using some buttons and brads.

Here are the other supplies that I used:
Versamark
Embossing Powder (Zing Red Glitter, Ranger Seafoam White)
Copic Markers
Memento Ink
Distress Ink
Buttons, Twine
Stamps (Strawberry Patch, Postmarks, Mat Stack1, Strawberry Patch Sentiments)


I also made a card to go with the envelope (which is the reverse of my normal process).


Thanks for looking!

Saturday, November 3, 2012

Let the Holidays Begin!

I love this time of year and even more than that I love the beginning of the holiday season. To me, November kicks off the holidays as I get excited for Thanksgiving. I have so much to be thankful for and it reminds me to get out there and help others in need. I started a food drive at our church for a local outreach and had the joy of dropping off the food to a downtown Denver ministry that helps the homeless in the area. It is called Urban Outreach and they do so much to help people on the streets. We'll be going next weekend to hand out the food that was donated. I think it's a great experience for me but also for my boys to step out their tiny world and see some of the rougher stuff in life.

Anyway, anyhow, anyhoo.... I made a Thanksgiving card and plan on making a bunch more. I got the color inspiration that I needed from our friends over at Play Date Cafe. Aren't these colors wonderful?

Here is my take on the color challenge:


I made this card with lots of layers. I distressed, crumpled and inked a variety of Tim Holtz (TH) papers and then embellished the card with pumpkin colored raffia, crinkle ribbon, satin cream ribbon and a TH stick pin. What I liked about the TH papers is that there was a page filled with thanksgiving recipes and I picked the pumpkin pie one and paired it with the pumpkin picture. Just love little details like that.

Off to enjoy a fun weekend! Thanks for stopping by.

Friday, November 2, 2012

Delight-fall Friday

So glad to be back in my loft this evening. It was a delightful fall day today. My boys had some friends over and we had some adult guests over for dinner; it was a win-win for everyone. And I love it when I feel like everything just falls together perfectly.

Today I popped in on some of my favorite blogs. I found a really cute sketch over at Retro Sketches. Here is what the sketch was:

And since it's been a while I also looked over at CR84FN Color Challenge to see what color palette I could use for inspiration. Here are the soft colors I used for my card:


And here is my first Christmas card that I made in these wonderful neutrals. I couldn't be more pleased with how it came out!
There were lots of creams and tans and grays used to make the mittens and stockings. I took the sketch shown above and just flipped it upside down and put the banner at the top.

There were lots of fun layers I used to make this card. And, of course, I had to add some MS glitter to the teeny weeny clothespins that are holding the stockings.


Thanks for stopping by! Oh, and those dishes are just gonna have to wait until the morning. One load in, another to put off till manana. :)

Thursday, September 27, 2012

Painted Toes and Pocket Holes- Teen Bed

I just wanted to post about my adventures in woodworking. After reading Shanty 2 Chic's blog about how she made her son's bedroom furniture I was inspired to make my own. My tween boy is growing like a weed and outgrew his bunk bed. We bought it when he was 4 and knew that the day would come when he'd no longer fit in it but was surprised at how quickly that came up.

Since he is a tween, I wanted to get him something that would last until he was finished with high school... unless he grows so long that the full sized bed doesn't work anymore (which means little brother will inherit his bed and I'll have to build another one). Anyway, the spark that set me off on the quest to build my own bed was this post at Shanty 2 Chic. I love the look of pottery barn but don't love the price tag. You know what I'm talking about, too! I get the catalogs and pour over the pages trying to figure out how I can get that look for less. ;)

My dad is great at carpentry and so I ran some questions by him before starting my project. I'm the kind of person who likes to gather up all the facts, costs, potential problems before starting  up a major project. I know some people like to dive right in and that's just not me, sorry. And I'm also a firm believer in getting the kids involved as a fun project to teach them something new and make memories. So, here are the pics of my son's bed:


I first started by building the frame. I had a few tools already but had to purchase a couple more. I had on hand a drill (which my husband had bought me for Christmas some years ago), a sander and some things like a tape measure, carpenter square, and hammer. The things i felt were necessary to purchase were a miter saw (chop saw) and a kregg jig. That put me at $200 before I even bought the lumbar.

Here's my son (who is receiving the bed) helping me to do the sanding on the frame we built. It was interesting to see how involved he wanted to be when using new power tools. I also found that I had to turn a blind eye to some of the cuts he made which could be off by 1/2". This was a learning process, right? :) So, when it came to the wood that I needed for the frame it was $70. Not too bad so far, right?

The stain and sealer cost less than $20 and was more than enough for both the frame and headboard. I ended up staining the whole frame but didn't take another pic later on once this dried. I just flipped the bed over and finished staining so that I wouldn't have any drip marks. The frame was super easy to make once I got used to using the tools.


Here is the headboard put together.  The materials for the headboard cost around $80. I ended up using up one of my scrap boards as a reinforcement in the middle of the headboard. The picture is looking at the back of it since there was a lot of attachments made from behind. Now, I will say this. I am going to be shopping for a nailer in the near future. My thumb took a beating during all of this.


Here is the finished bed. For around $400 dollars (which included the price of the tools that I can use on further projects) I was able to build this cool Pottery Barn knock off bed. And it's all solid wood, too!

Again, you can see some really great photos over at the Shanty 2 Chic blog, which also has a link for the plans to build this bed. The next thing I plan on building is a bookcase and two nightstands.

Thanks for checking me out!